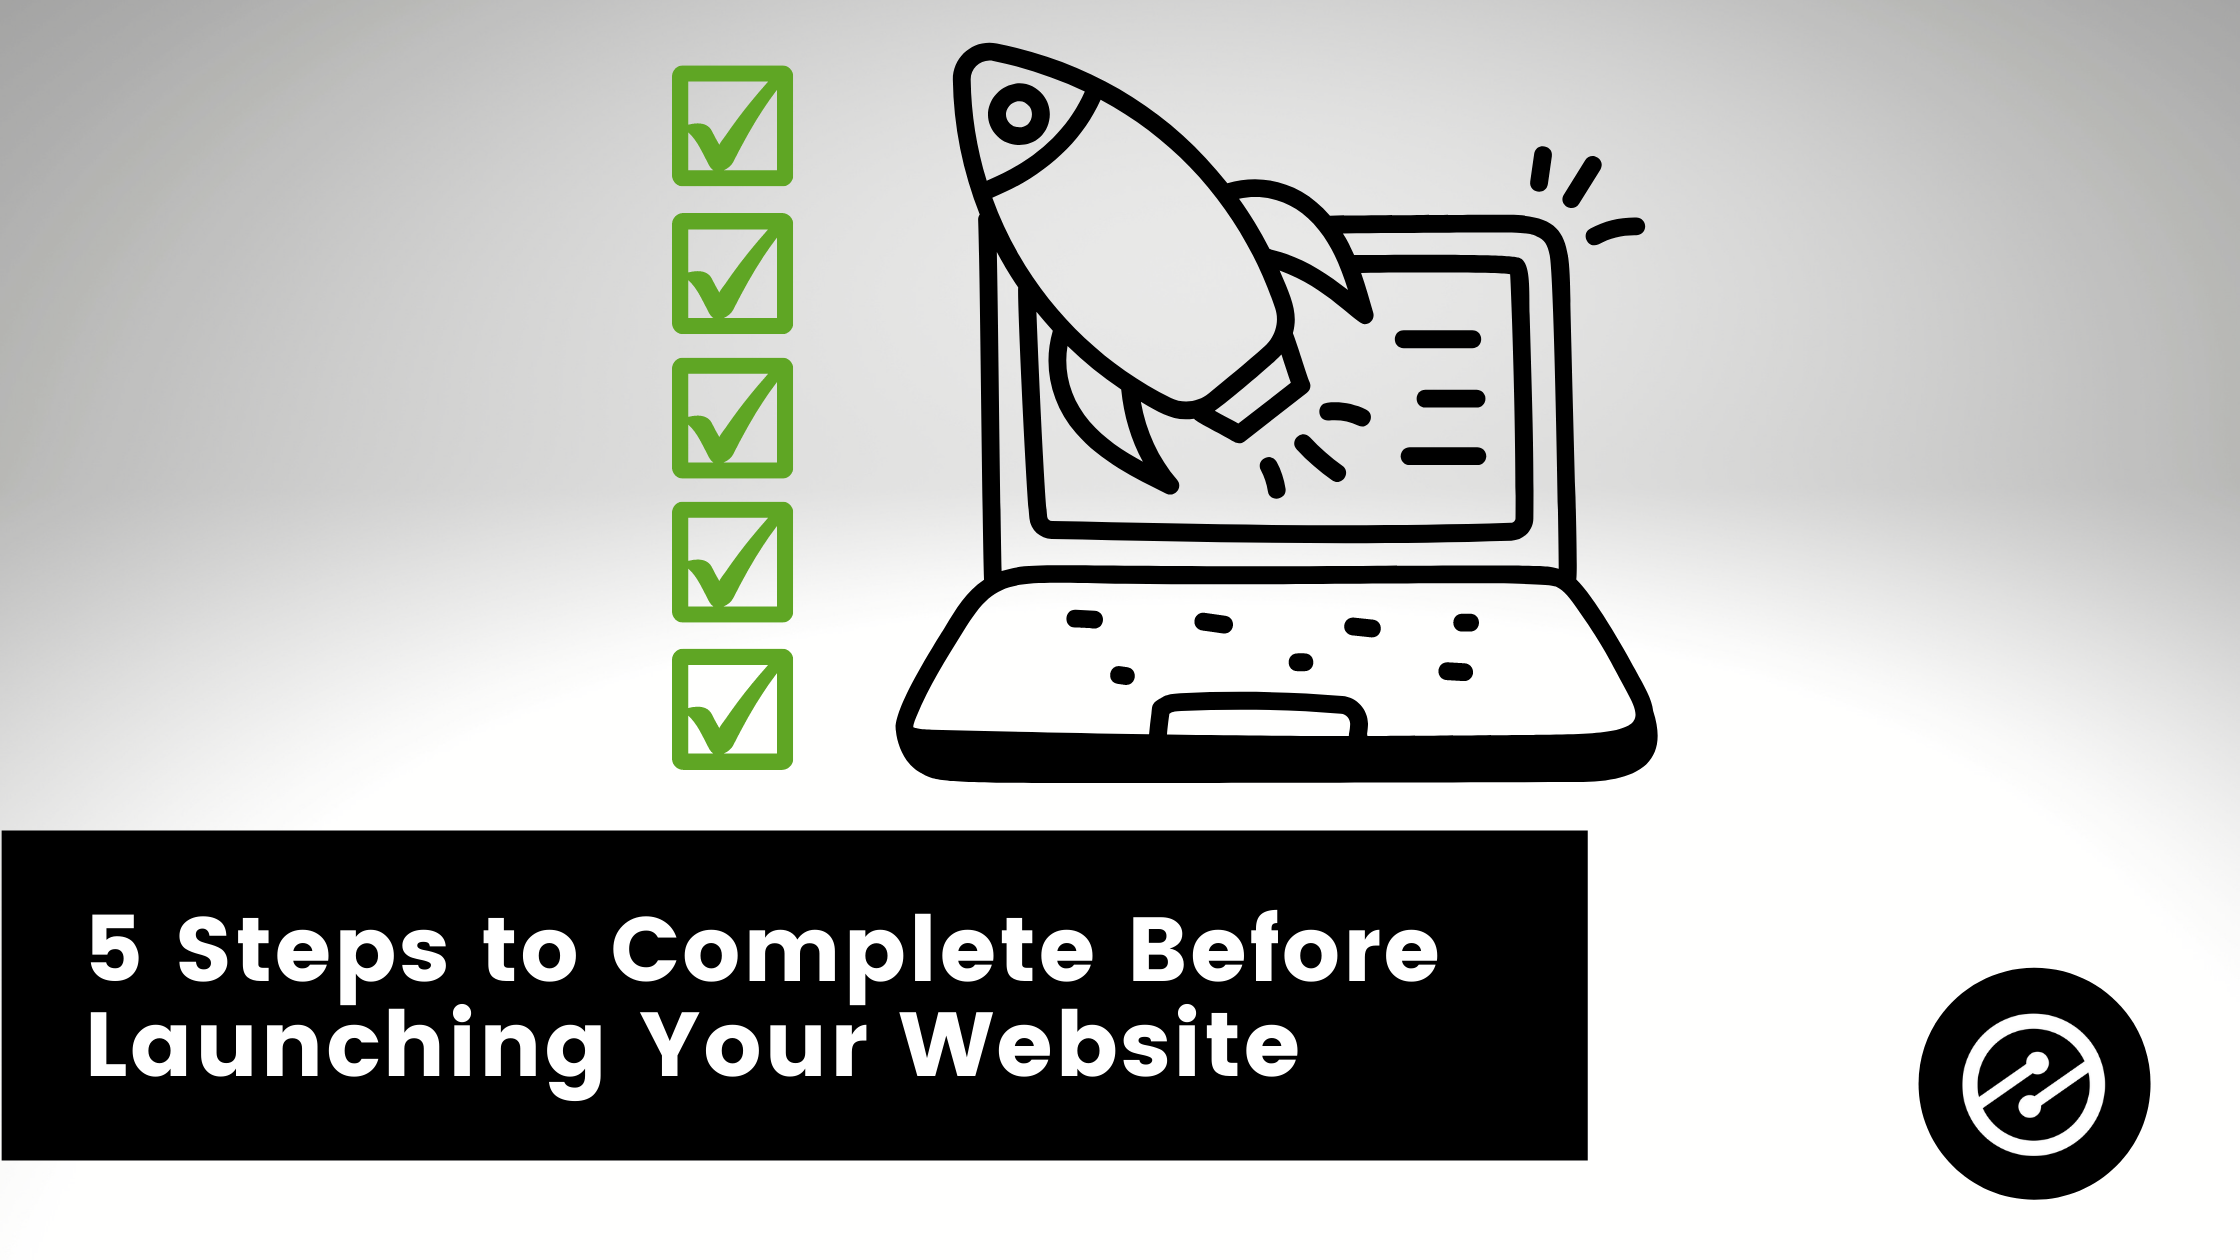
5 Important Steps to Complete Before Launching Your Website

Get helpful updates in your inbox
This article is part three of a series on how to grow your website by Ezoic Publisher Ron Stefanski. Be sure to read part one and part two, and stay tuned for more information about monetizing your site in part four.
The process of launching a new website doesn’t have to be complex or intimidating. All you need is a simple step-by-step process for the things you need to do before going live so you can give yourself the best chance of success.
Read the rest of this article to discover the five important steps you must follow when preparing your website for launch.
1. Create Essential Pages
Before you start adding pages to your site, you must first map out your website’s navigation.
Think of it from the perspective of someone who is brand new to your site. What would that visitor be looking for, and what would you want them to see?
Make sure your most important pages are included upfront and only add a few items on your main header to avoid overwhelming new visitors (as in the example below). The last thing you want is to paralyze them with indecision.

Once you’ve narrowed down the list of essential pages, you can then start creating them.
To help make your work easier, I have outlined some of the most common pages for new websites, as well as the information to include in them:
About Page
This page should contain important information readers may want to know about you. However, there is no need to go into too much detail.
Simply provide the basic information, such as:
- Your name
- An image of yourself
- A branded and copyrighted logo
- Why you created the website
- A brief discussion of the purpose of the market
- Some mention of the target audience
Specify what you hope to achieve, and also point new readers to the best starting point.
Contact Page
The contact page provides visitors with the information they need to get in touch with you, such as your email address, phone number, location, and links to your social media profiles.
You might also include a contact form on the page to make it as quick and easy as possible for readers to get in touch with you.
Privacy Policy Page
This is an important page to have on your website. If your site attracts readers from any jurisdictions with privacy laws, a privacy policy page will help ensure that you are complying with the regulations regarding your readers’ privacy rights.
2. Set Up a Theme
A theme is a piece of software that determines how your website looks. It dictates the layout of the text, images, videos, and other content on the page.
There are tons of free and paid themes to choose from, but it’s a good idea to choose a premium theme since it comes with added benefits compared to free ones.
For instance:
- Premium themes are flexible and easy to customize
- They provide better customer support
- Developers update the themes more frequently
- Premium themes also provide more security against malicious code
- They’re faster, which helps your website to rank higher
- They are also more responsive on mobile
To find a good theme, you can go to the theme marketplaces like ThemeForest or Envato Elements.
You might also consider the theme builder from Thrive Themes, which is what I use on my website.
Thrive Themes is particularly suited to building your websites because it’s designed to be easy to use and comes with a lot of other tools that will help you create and launch a successful and profitable website, including:
- Thrive Architect: A powerful drag-and-drop landing page and content builder
- Thrive Leads: A tool for building your email list faster
- Thrive Quiz Builder: To help you collect leads with engaging quizzes
- Thrive Apprentice: For building professional online courses
- Thrive Optimize: A/B test landing pages for improved conversions
- Thrive Comments: Get more website engagement through gamified comments
- Thrive Automator: Create automation from all your marketing tools and plugins
- Thrive Ultimatum: This allows you to create evergreen countdown campaigns
- Thrive Ovation: Automatically collect and display testimonials
With these tools, you’ll be able to build a professional-looking website and optimize your content, even with zero coding knowledge. Better yet, you can do it all on your own without hiring a website developer — create stunning pages, building your email list, creating quizzes, and much more with the Thrive Themes suite of tools.
3. Add Your Logo
The next step is to create a logo for your website. This will brand your new site and make it instantly recognizable to your audience, and it’s the reason why it’s crucial to take the time to design a quality logo that is aligned with your brand.
You can use a tool like this one to create a blog logo for free.

If you require high-resolution logo files, you can pay a minimal fee to access the source files, as well as a few other additional features.
Here are a few basic rules to follow when creating a logo for your website:
- Keep it Simple: Your audience must be able to easily identify your logo, even at a glance.
- Make it Memorable: An effective logo needs to be memorable, such as something unique.
- Timeless and Classic: Avoid trends and choose a logo design that will stand the test of time.
- Make it Versatile: Depending on your needs, you must be able to use your logo in a wide variety of sizes, from a pen to a plane and everything in between.
- Your Logo Must Be Appropriate: A professional logo must fit its purpose. For instance, don’t create a logo that looks more suited for a toyshop if you have a more serious audience.
If you absolutely cannot make up your mind about the type of logo to create, rather than wasting endless hours agonizing over the decision, simply use the name of your website in a font and color that is easily readable and matches your brand.
Don’t get hung up on trying to create the perfect logo right now. You can always come back and rework your logo later, so get something up and move on to the next step.
4. Claim Social Media Profiles
Your theme is set up, you’ve created your essential pages and added your logo. Now it’s time to get all your social media accounts.
As you probably know, social networking is crucial to the success of your website. You should not wait until the last minute to claim your profiles on the sites you plan to be active on.
Otherwise, you risk losing out on your preferred account name, which can make for a poor branding experience.
So, head over to the social networks you intend to use, whether it’s Facebook, Twitter, Instagram, Facebook, YouTube, Tiktok, etc. and secure your handles before launching your website.
5. Set Up Analytics

This is one of the most important things you can do before launching your site, and yet it’s among the most commonly overlooked by new website owners.
You must install analytics software to keep track of your website’s current status. You’ll be able to monitor statistics such as:
- The number of visitors to your website
- Where the visitors are coming from
- The period of time readers stay on a page
- Use rank tracking software and tools to check Google ranking
- The average number of pages each visitor views
- … and various other useful statistics.
With the right analytics software, you can capture web data and analytics to get all the information you need to make adjustments to your website and design its on page optimization
strategy to further increase its effectiveness.
One of the best website analytics tools to use is Google Analytics.
Google Analytics is free to use. All you have to do is sign up on the site, and you can follow the prompts to set it up.
Once you start collecting data from your website, you’ll have an easier time figuring out exactly which of your strategies work and which ones don’t.
You can also add your website to Google Search Console (previously known as Google Webmaster Tools).
This will help you monitor your website’s health in the search engines. If there are any problems with your website, this is where Google will notify you.
Some issues may include:
- Problems with links to your website
- Manual actions or penalties against your site
- If Google is failing to access some parts of your site
- If your site isn’t mobile-friendly
Given the time, money, and effort you are going to put into creating and launching your website, it’s crucial for you to have your analytics in place so you can manage any potential issues with your site and easily find opportunities for improvement.
In addition to setting up Google Analytics and Google Search Console, you might also consider using a content analytics tool to help you keep track of your website content.
Google Analytics checks your site data as a whole, but content analytics will allow you to dive deeper into the actual content, specifically your blog posts.
A content analytics tool will help you:
- Find your best-performing content
- Discover how far down the page visitors read your content
- See real-time stats so you can make necessary adjustments
- Uncover ideal places to add call to action buttons
- See which posts need to be improved for more engagement
- Find opportunities for optimizing posts for search
Examples of content analytics tools include:
- SE Ranking
- Blaze
- ClickFlow
- Cyfe
- Oribi
Conclusion
There you have it. The five important steps to complete before launching your website. Use this article as a checklist so you don’t miss anything before going live.
And make sure to check out the next article in this series which will focus mainly on making money with your website.
That said, now is a good time to mention that I HIGHLY recommend Ezoic’s Access Now program and earn revenue as your site grows. I’ve done this myself with every single website I own and I can speak from experience that it’s grown my display ads earnings by 30%+ on a consistent basis.
Have you completed any of the steps outlined in this article? If so, what has your experience been? Let us know in the comments section below!
<a href="https://www.onehourprofessor.com/">Ron Stefanski</a> is a college professor turned online business owner. He’s helped hundreds of thousands of people create and market their own online business. You can learn more about him by visiting <a href="https://www.onehourprofessor.com/">OneHourProfessor.com</a> You can also connect with him on <a href="https://www.youtube.com/channel/UCdsblmJD2Yls7GkPs9dE2TA">YouTube</a> or <a href="https://www.linkedin.com/in/ronstefanski/">LinkedIn</a>.
Featured Content
Checkout this popular and trending content

Ranking In Universal Search Results: Video Is The Secret
See how Flickify can become the ultimate SEO hack for sites missing out on rankings because of a lack of video.
Announcement

Ezoic Edge: The Fastest Way To Load Pages. Period.
Ezoic announces an industry-first edge content delivery network for websites and creators; bringing the fastest pages on the web to Ezoic publishers.
Launch
Ezoic Unveils New Enterprise Program: Empowering Creators to Scale and Succeed
Ezoic recently announced a higher level designed for publishers that have reached that ultimate stage of growth. See what it means for Ezoic users.
Announcement